Caramel Apple Bar
Fall is in full swing, which means our social calendars are likely filled with numerous gatherings. I’m always on the hunt for new fun fall food ideas to bring with me or to put together when I’m hosting, so I hope this idea helps you out.

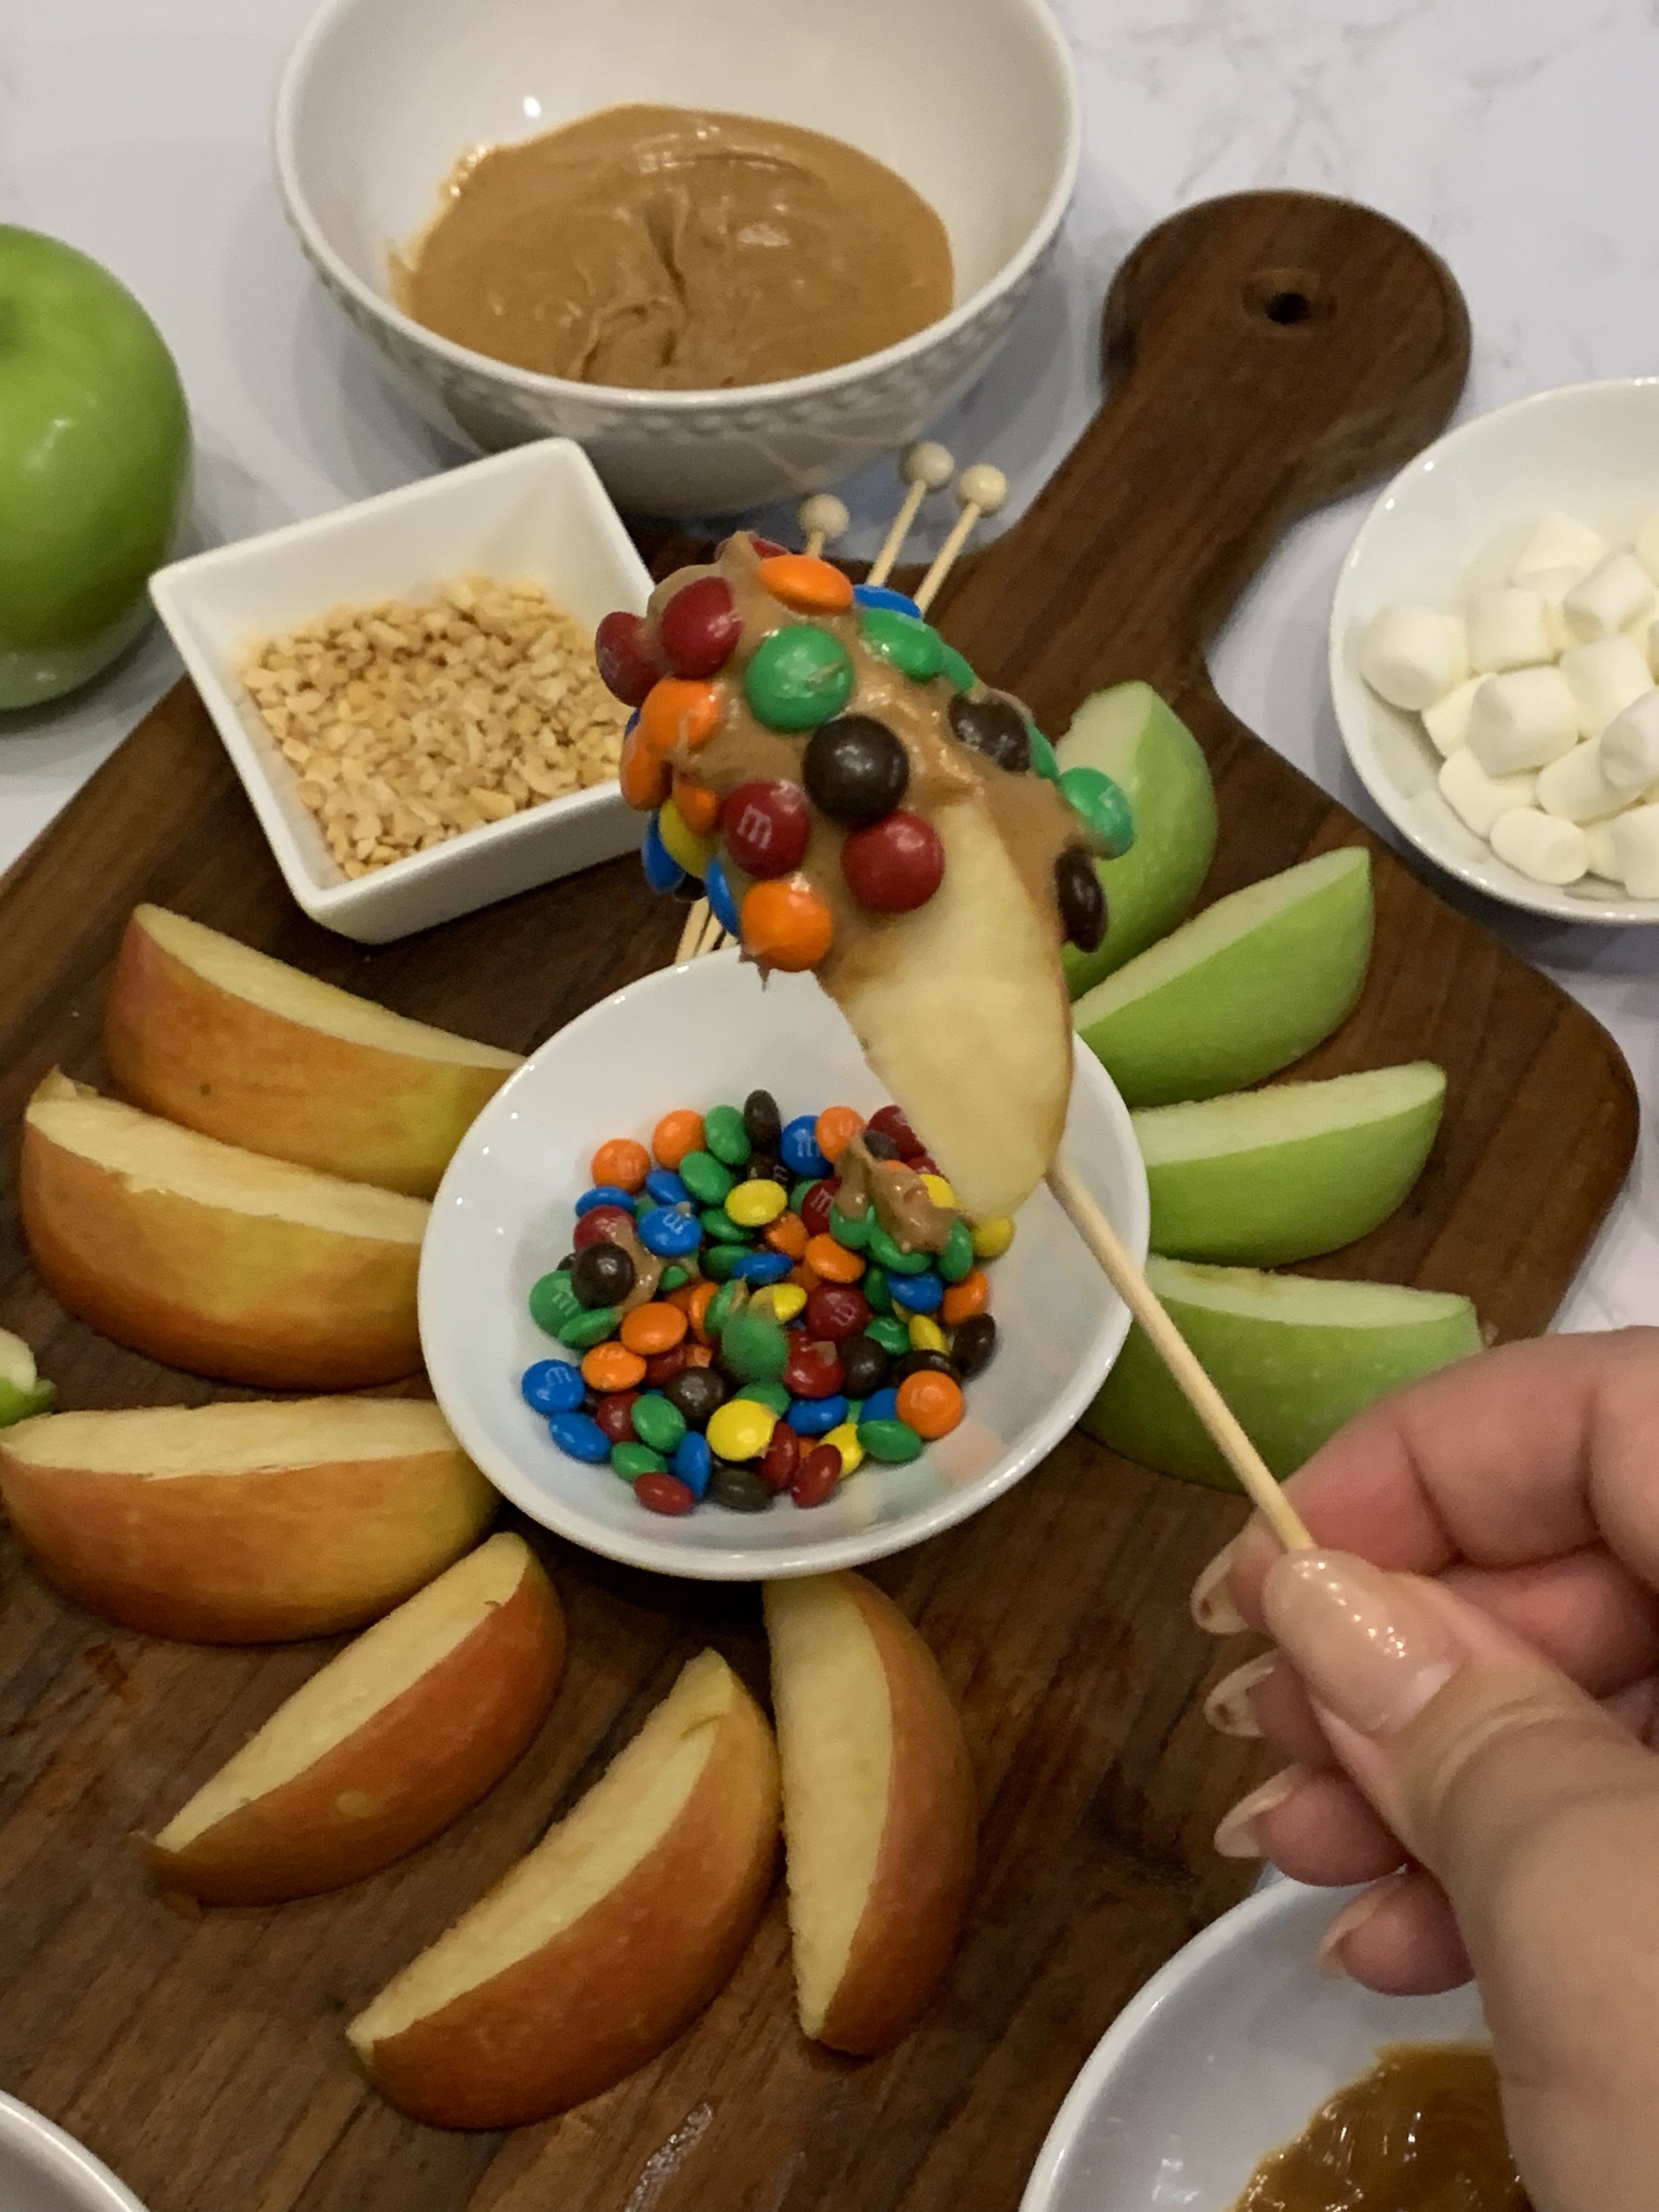
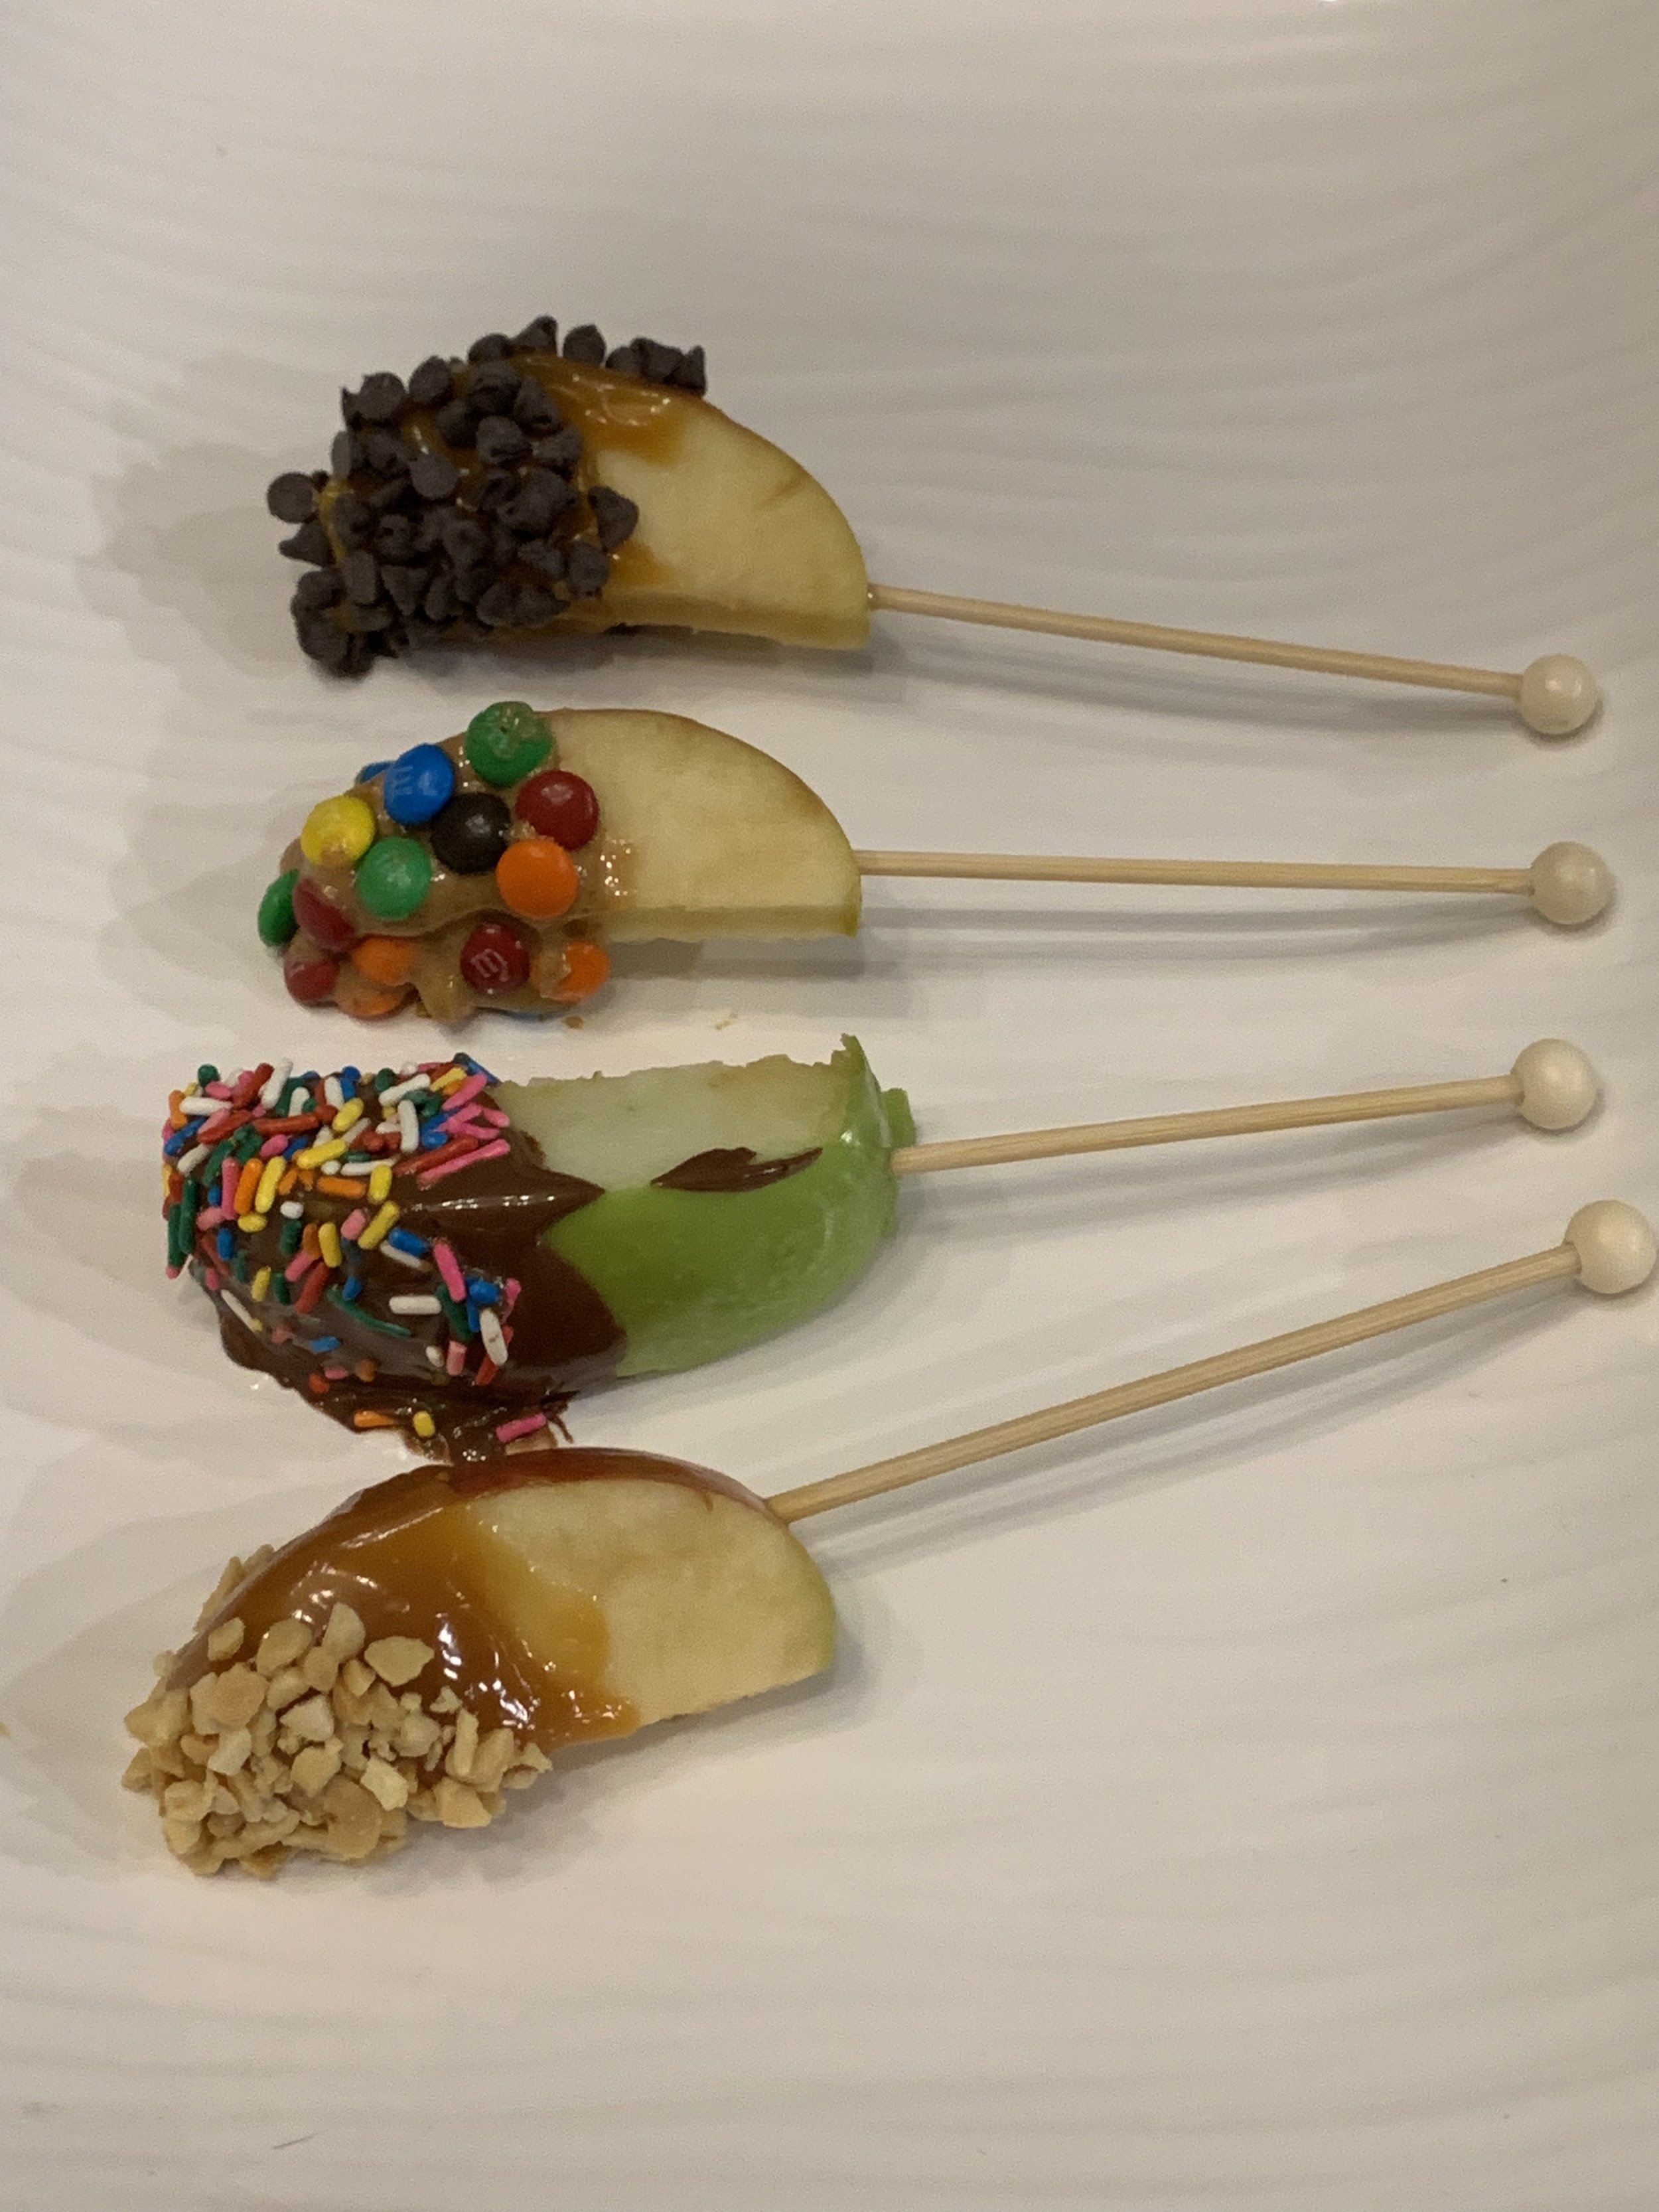
This caramel apple bar is the perfect way to bring an interactive dish to your next gathering, where everyone can make caramel apple slices to their liking! These build-your-own bars have been around for ages, but have become more creative in the past few years. We saw the classic ice cream sundae and taco bars evolve into mashed or baked potato bars, pasta bars, chili bars, and more!
As a kid (and adult) I always struggled eating caramel apples because I would end up with caramel all over my face and hands, and it often got so messy I didn’t even finish the caramel apple. This caramel apple bar eliminates this issue by making caramel apple slices that are much easier to eat, and have a bonus of getting to add different toppings to each caramel apple slice you make!
This is so easy to prepare and bring with you to your next friendsgiving, pumpkin carving party, book club, girls night, fall birthday party, or tailgate, and is also kid-friendly.
If you give it a try, please tag me on social media so I can see your creations!
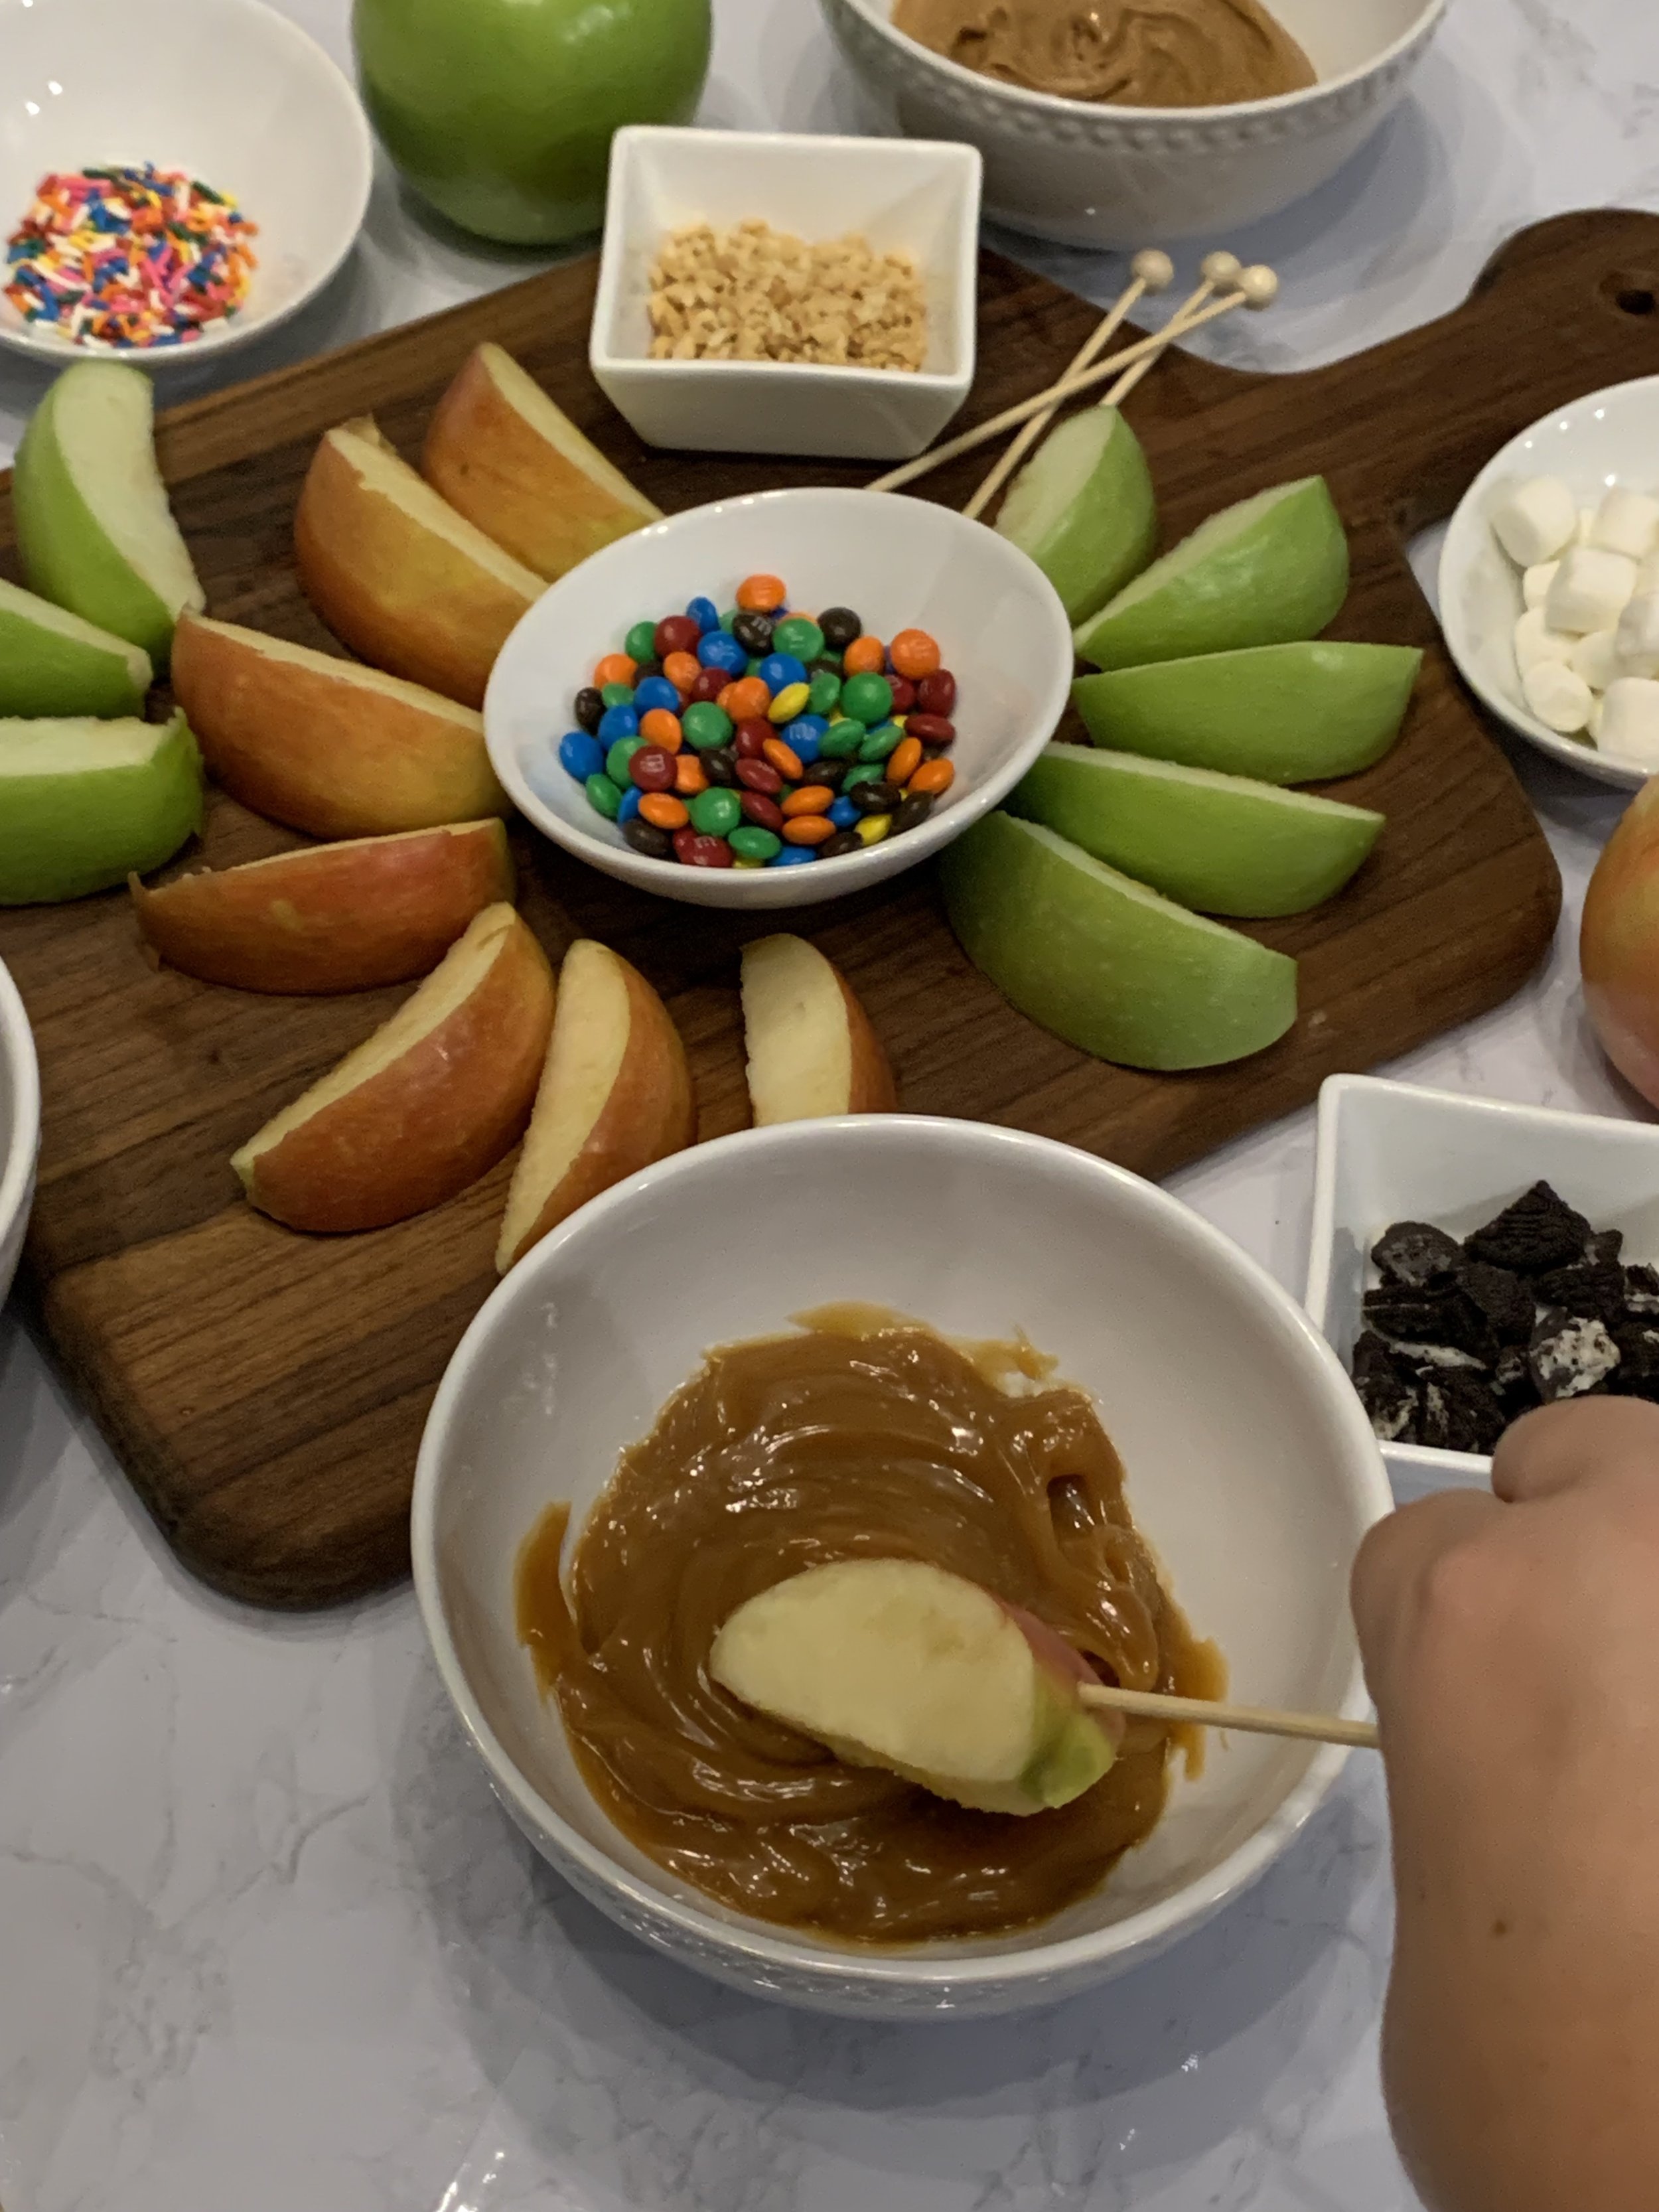
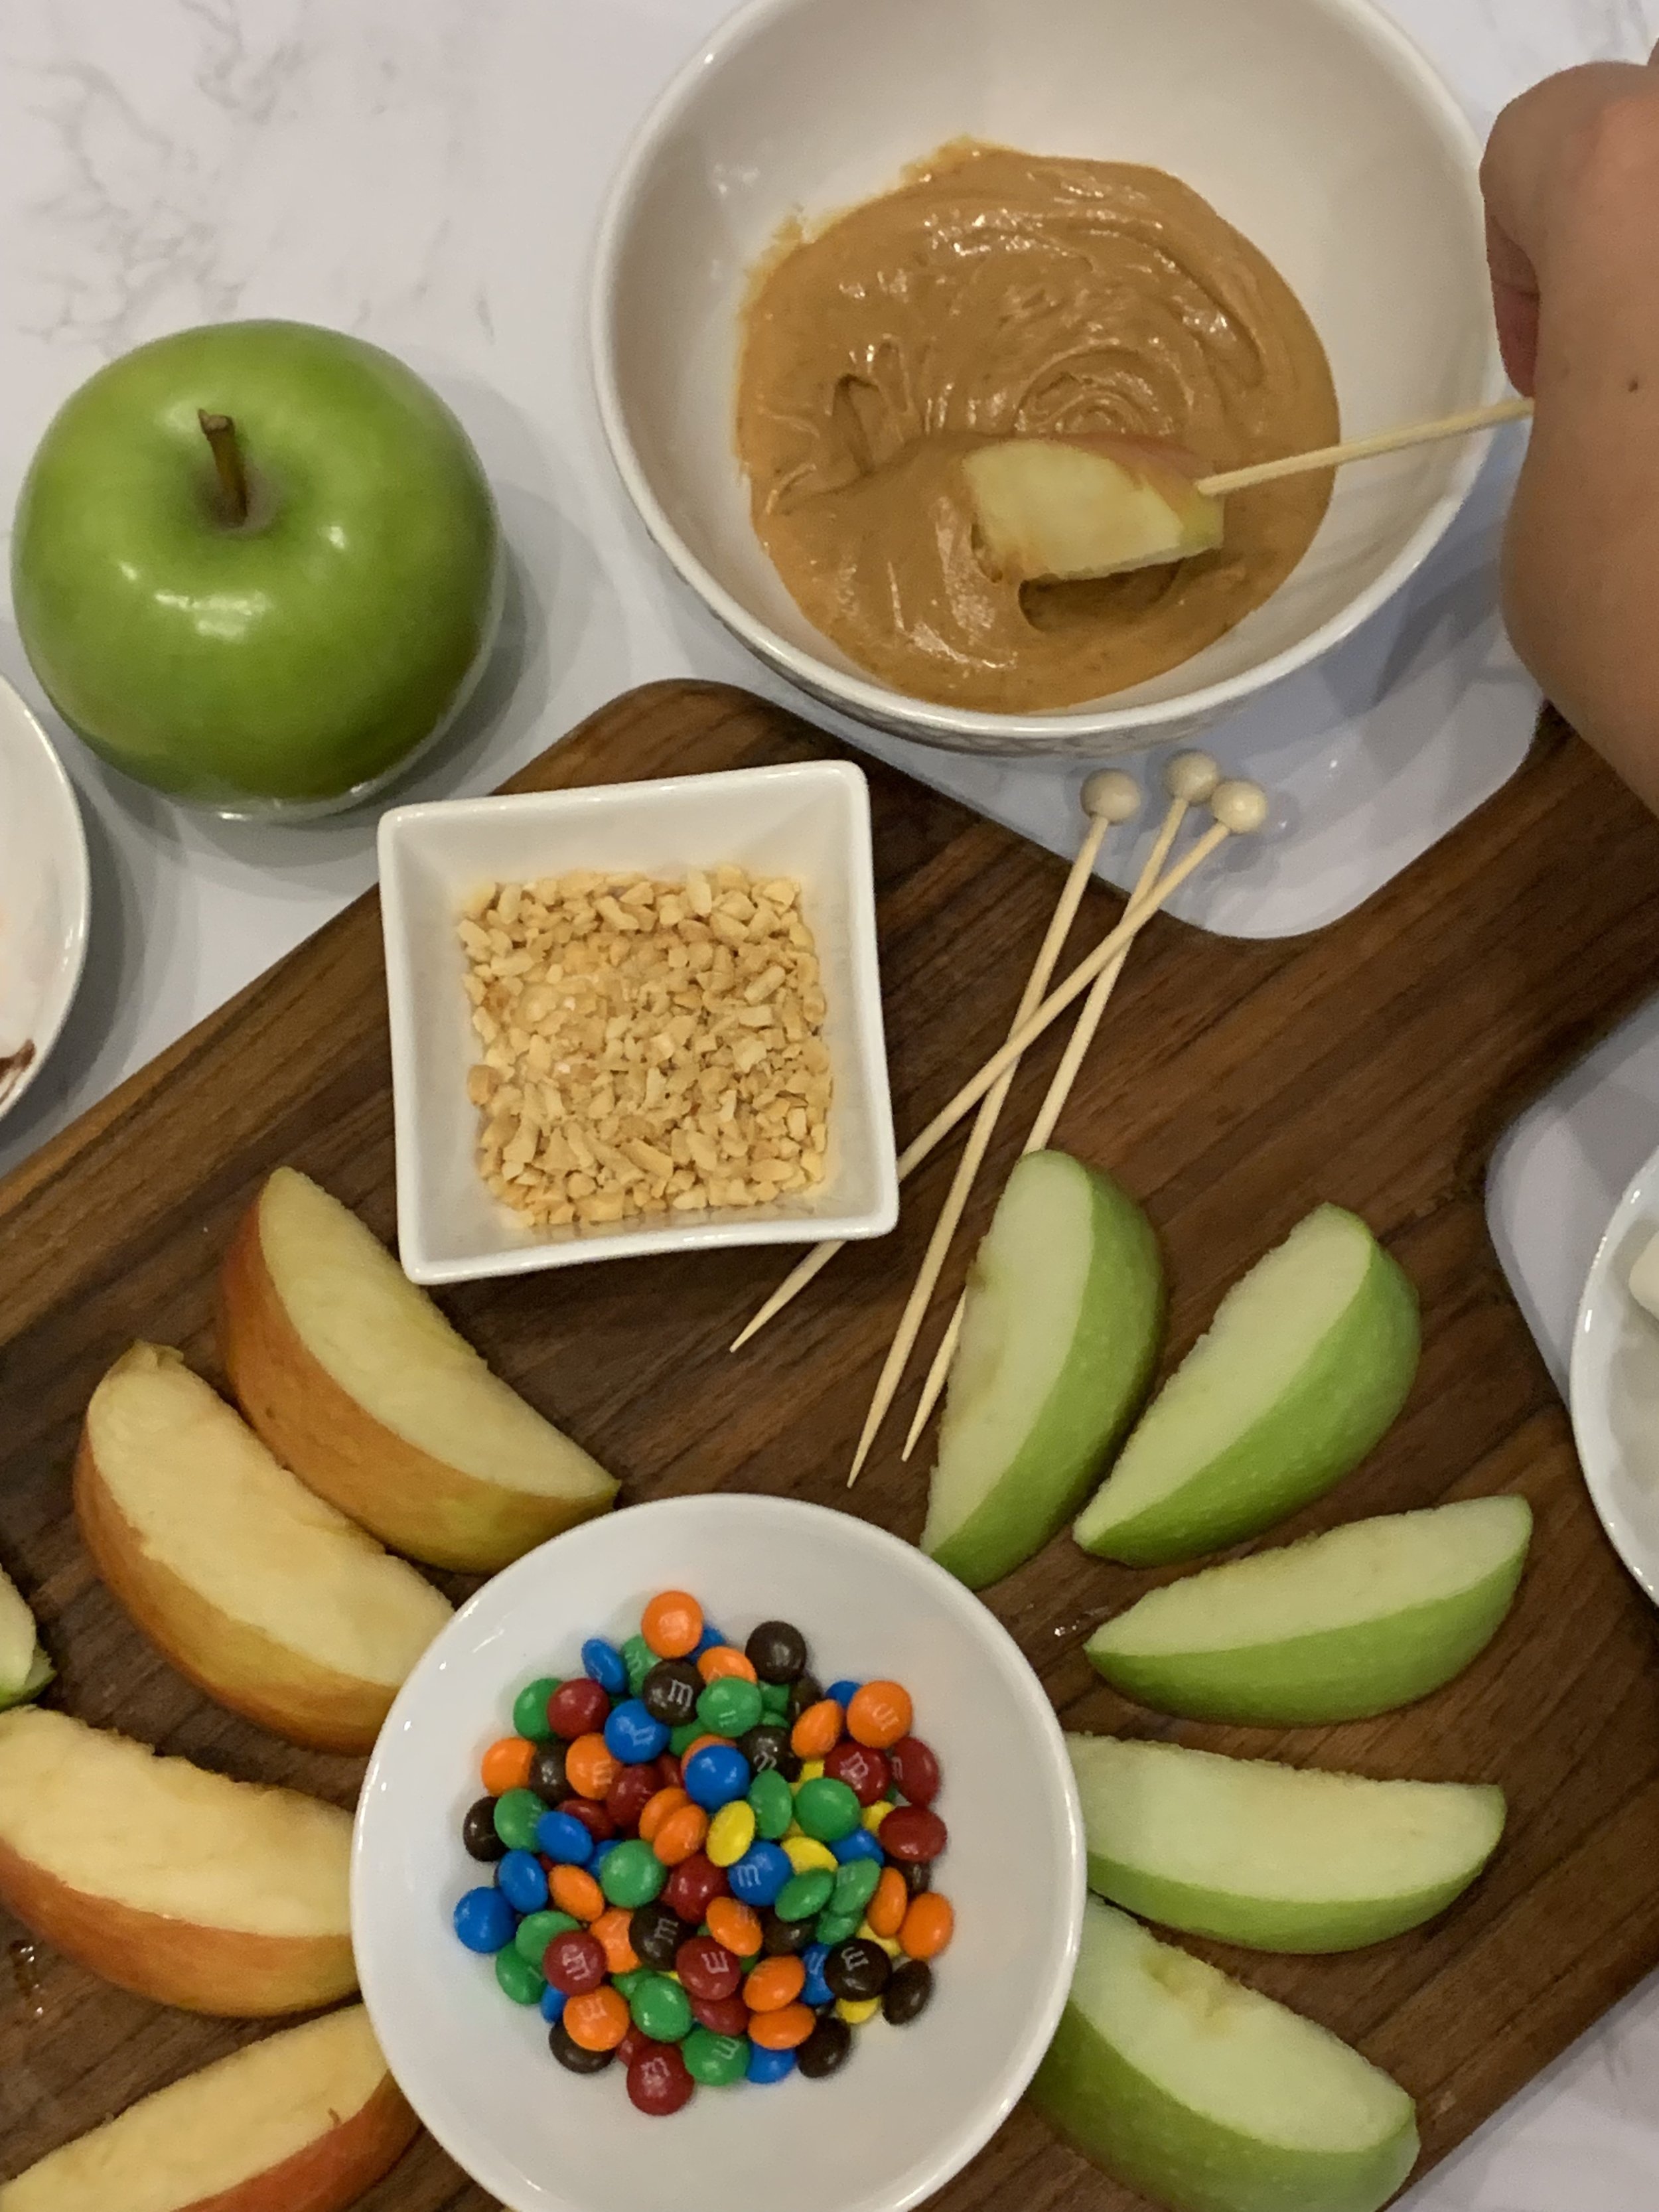
All you have to do is:

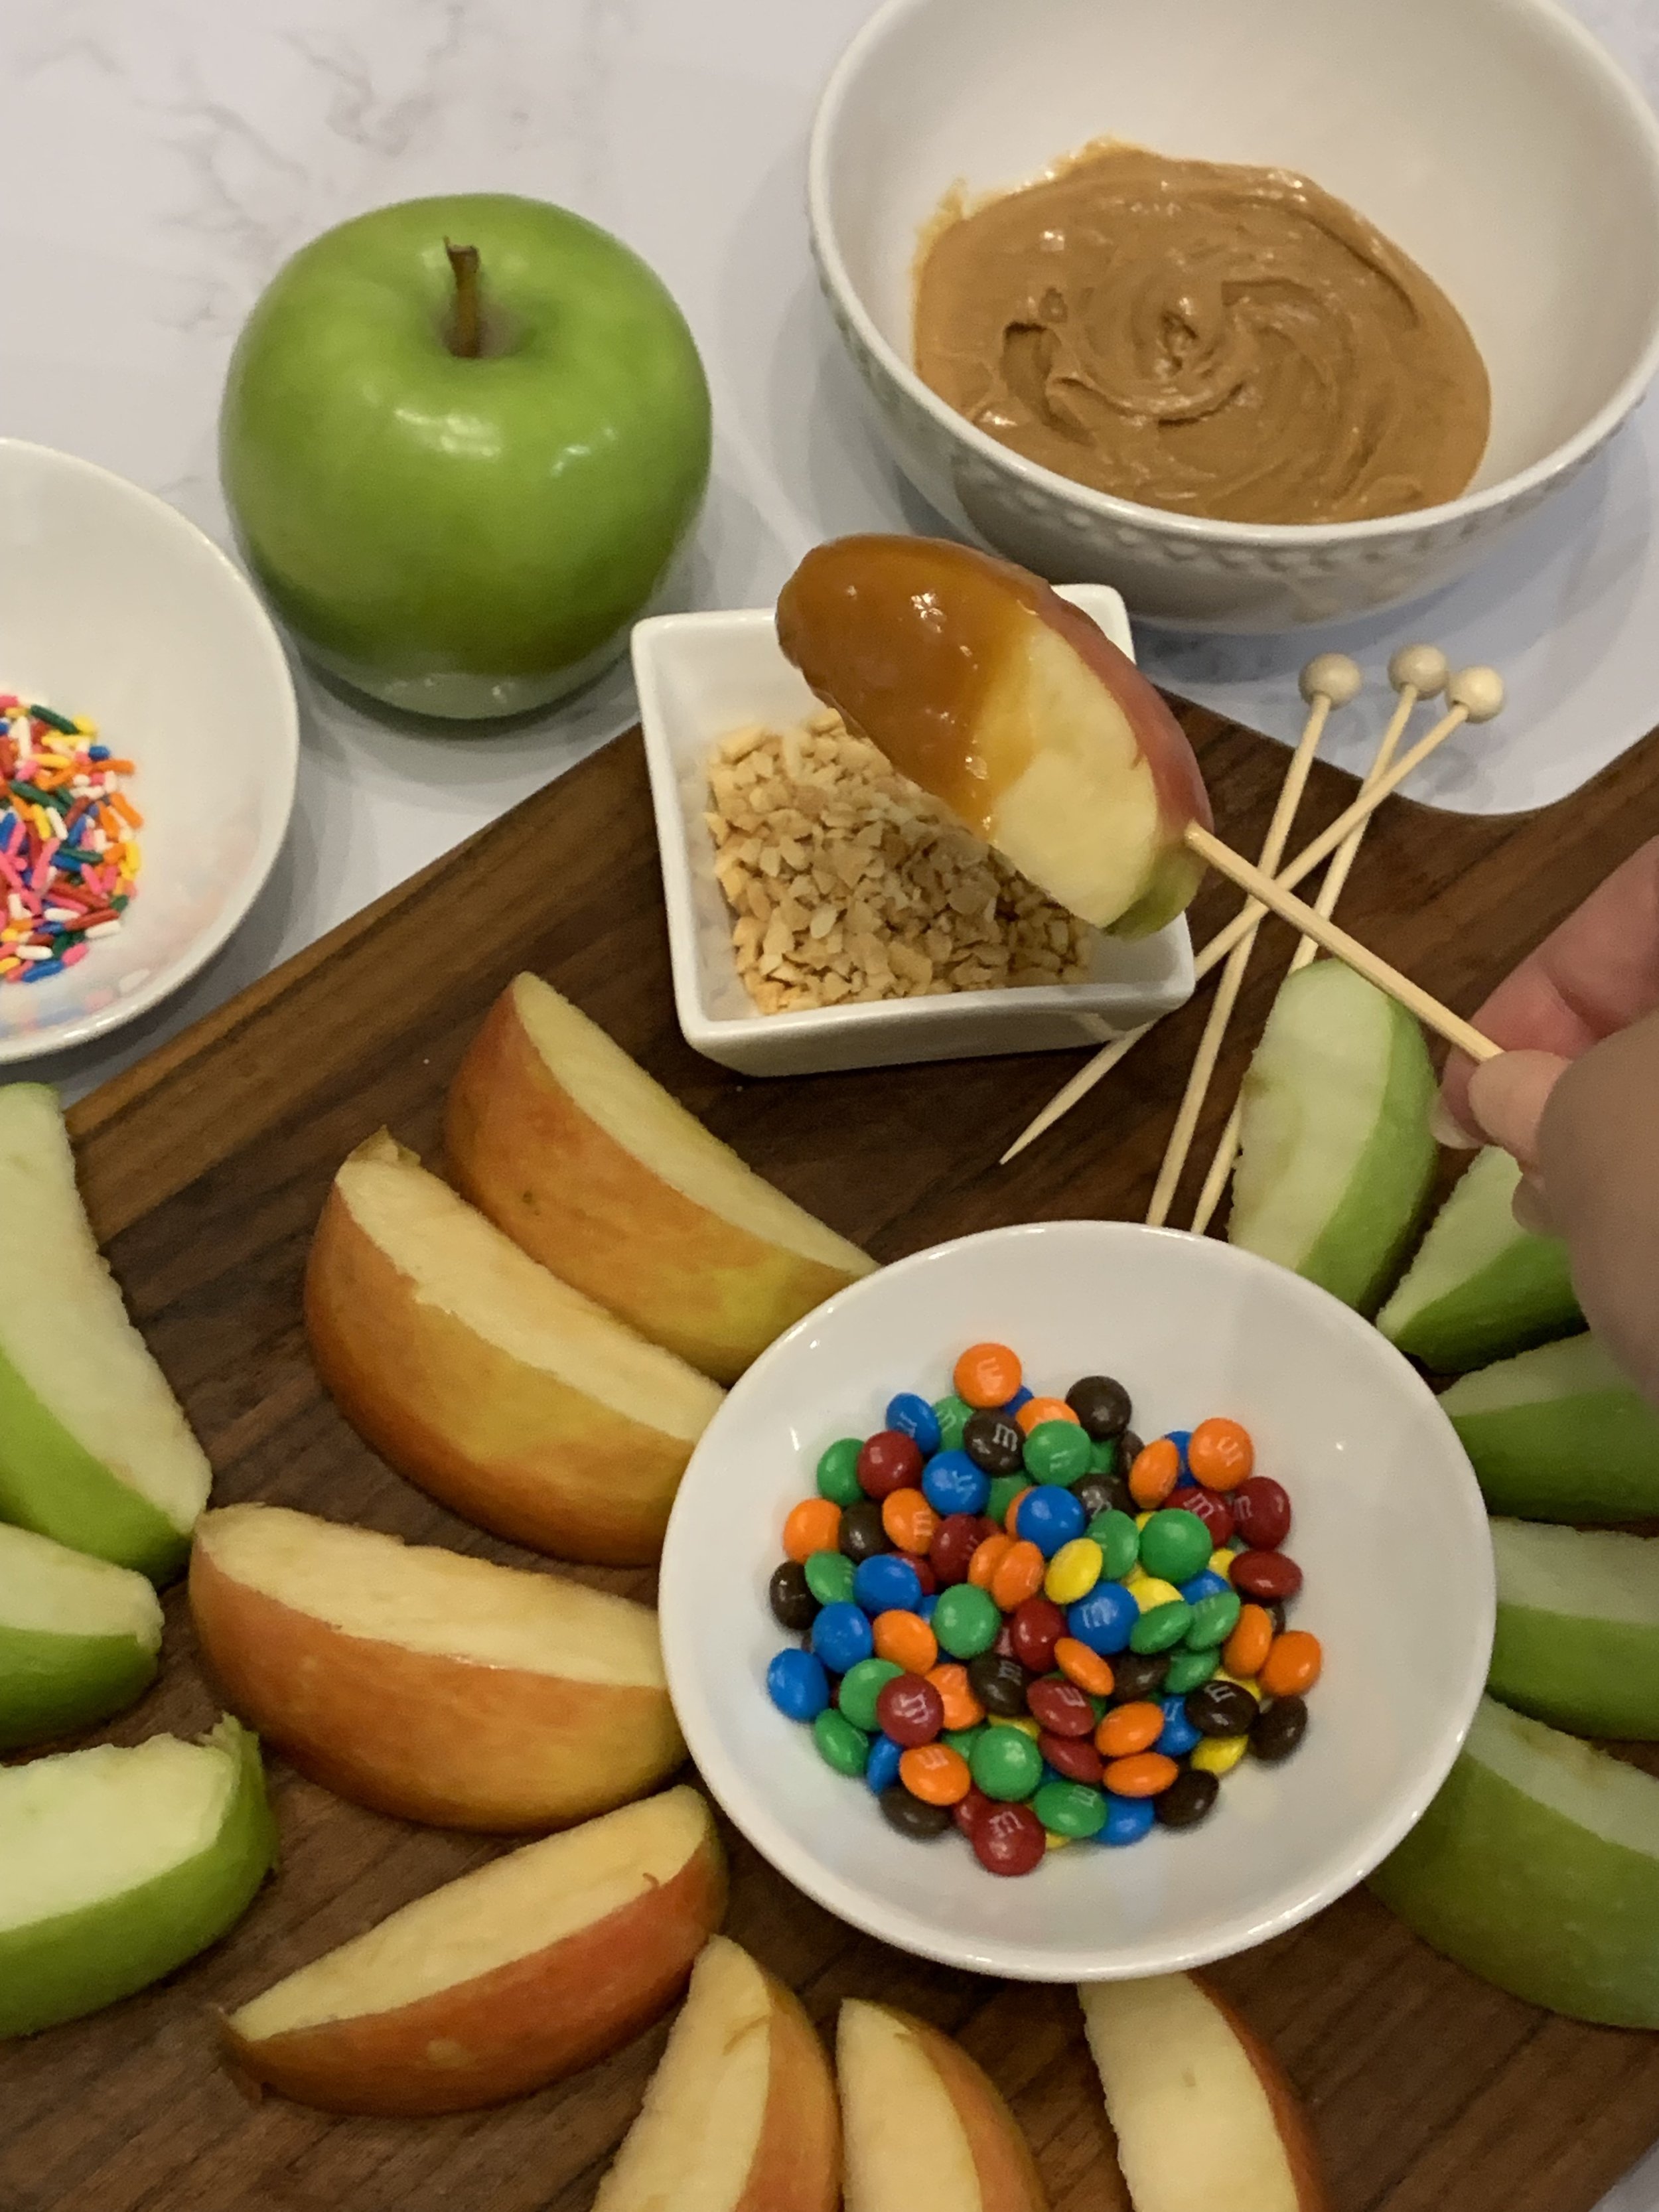
Pick your favorite variety of apples - I chose a few of my favorite varieties, Honeycrisp, Pink Lady, and Granny Smith. Then use an apple cutter and skewers for easy dipping
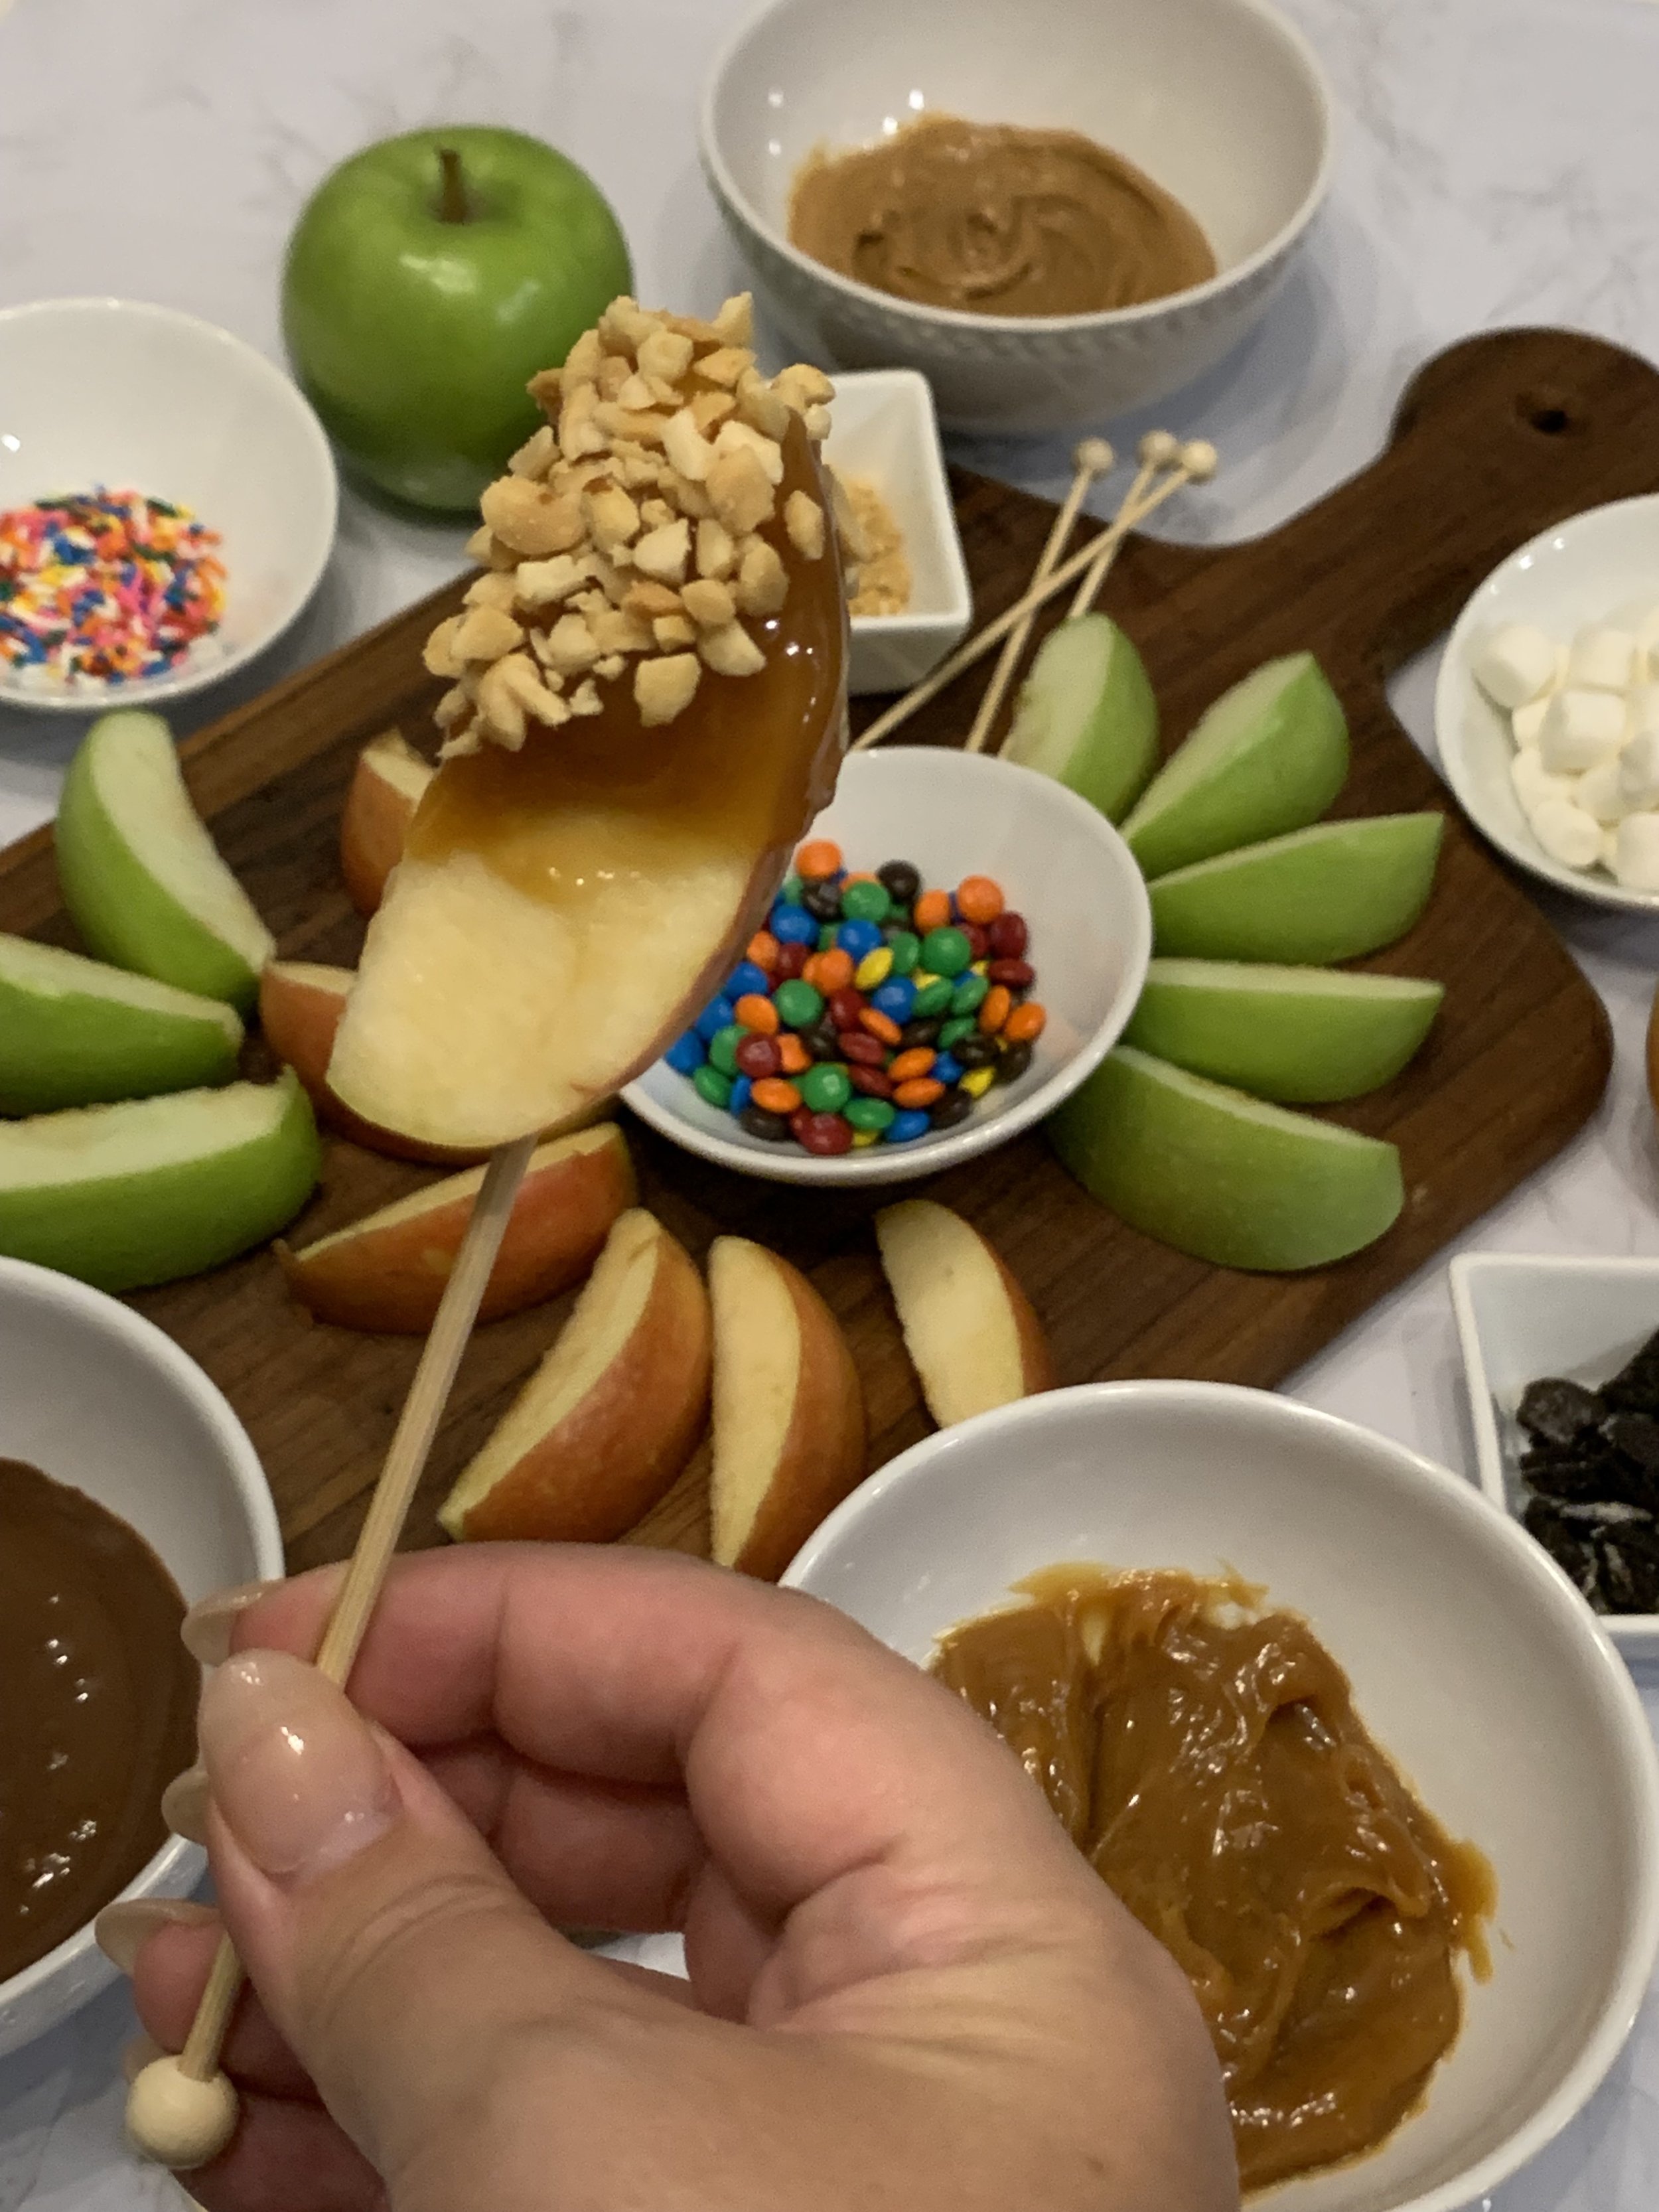
Get your caramel ready - I also included peanut butter and melted chocolate on my caramel apple bar
Pick all your favorite toppings - Nuts, chocolate chips, crushed oreos, shredded coconut, mini m&m’s, sprinkles, etc.
Assemble the board & Enjoy!
If you’re traveling with your caramel apple board, you can use a muffin tin for the toppings for easy transportation
Another great option is a veggie dip tray (bonus points if it’s a lazy susan tray too), so you can pass and spin the board to reach all of the toppings from where you’re sitting. This would also be great for taking the caramel apple bar on the road to your party or gathering.
Tips:
Wait to cut your apples until last and right when you’re ready to eat so they don’t turn brown while you’re setting up. Seems obvious, but in the chaos of setting up for guests, or packing up your caramel apple board to bring with you, I can see this oversight happening more than we might like to admit. Especially if you’re having dinner first, or not enjoying this right away.
If you use natural peanut butter that requires a good stir, it will be more runny than no-stir peanut butter. I recommend keeping it in the fridge and using a knife to remove any excess before dipping the apple slice in the toppings as they can weigh down the runny peanut butter and can run right off the apple slice.
If you melt chocolate, I also recommend letting it set a little bit for a stiffer consistency for the same reasons as the peanut butter tip above
If you have a lot of kids using the caramel apple bar, it may be worth giving each of them a turn with the toppings by passing the toppings around, or giving them their own set of toppings in cupcake liners to reduce any messes or fighting trying to reach communal toppings.